I decided that I wanted to make a knife that was kind of a mix between a large American style chopper and a Parang. I wanted a blade with the profile similar to a parang which had a wider tip and that had some curve to it. I also wanted a handle that was a mix between a more modern knife like a BK9, but that was longer like the Skrama. I also wanted to have a little knob or hook at the end so that the blade would be easier to swing while using the knob as a pivot point.
I decided to use some 7/32" 1084 that I had on hand from Aldo, which is a nice Cro-Van type of high carbon steel similar to the 1095 that the Becker knives are made from. The 1084 is known for making really strong nice choppers. The piece I started out with was 1.5" wide and around 15" long.
In order to get the shape of the blade, I needed to forge it out. Otherwise the blade would not be wide enough at the tip and the hook or knob at the end of the handle would be too small.
First I started with upsetting the butt of the handle. I heated it in the forge and put it in the vise and then hammered it in and down. This will give me more width for the knob and more drop as well.
After doing this I wanted it to be dropped a little more at the butt end so heated it back up and bent it down over the horn of the anvil.
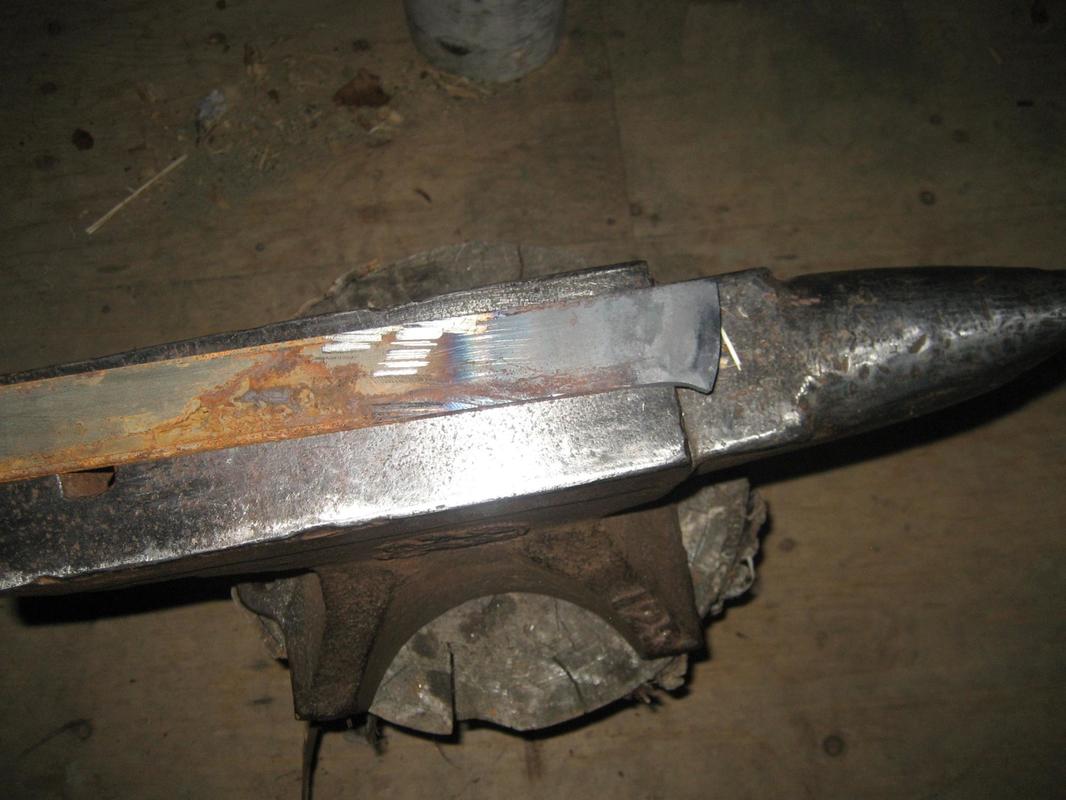
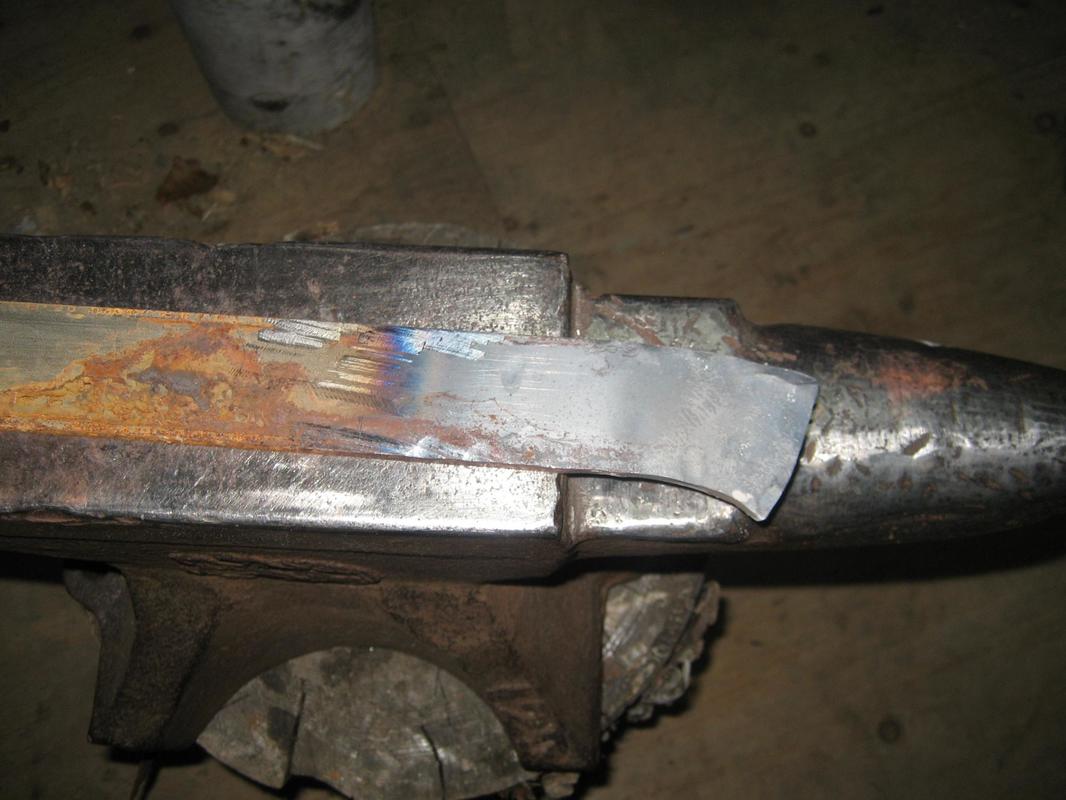
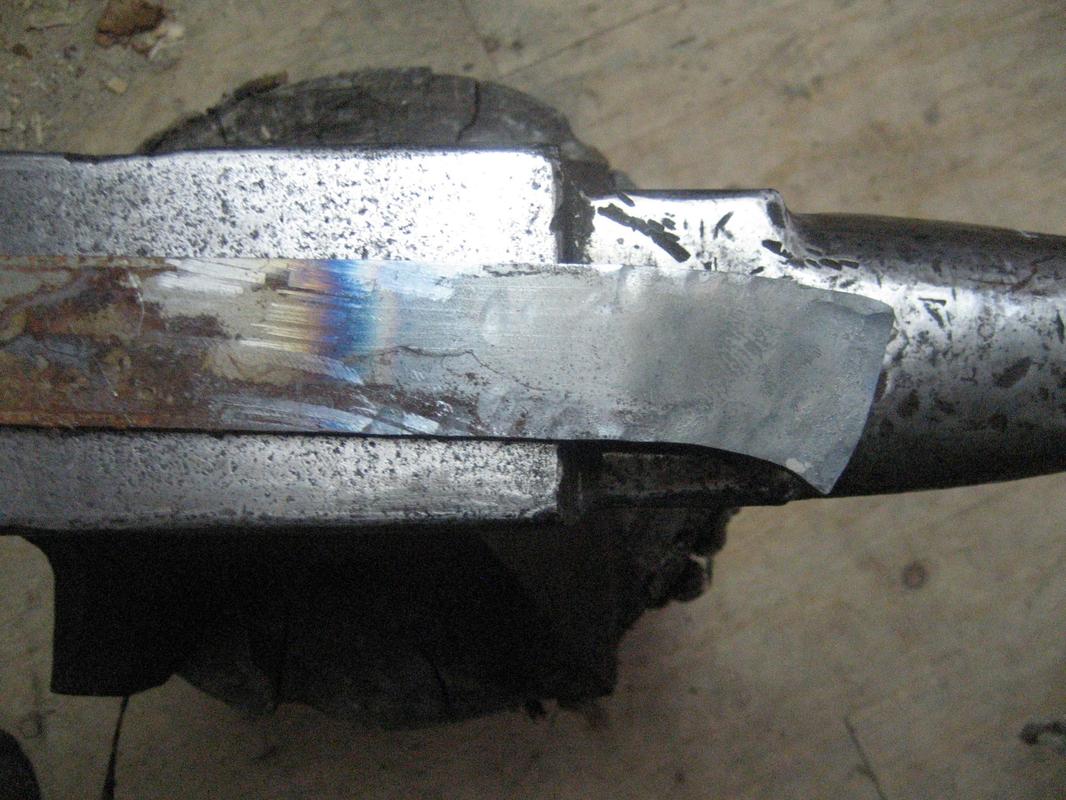
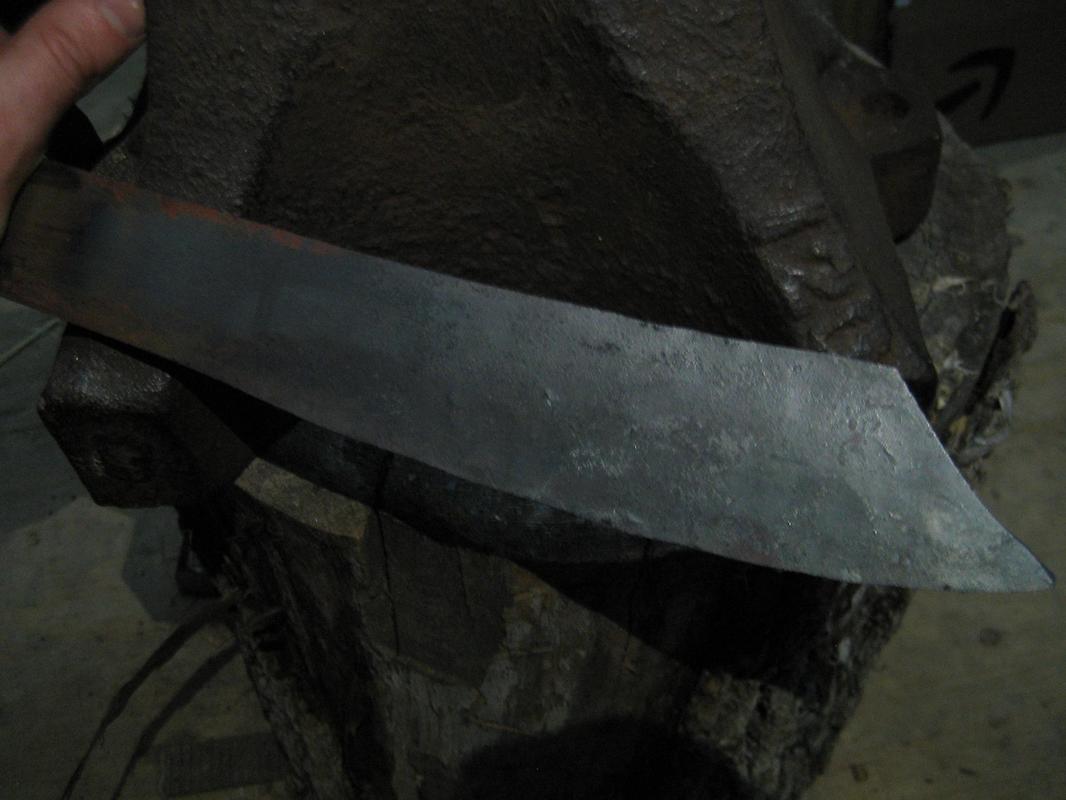
With that done I proceeded to forge a little bit of taper to the blade. This will make a gradual taper from the handle towards the tip which will help it be better balanced. After doing that I started forging the bevel. This does several things. First it curves and widens the blade, secondly it curves the blade to give me the shape I want, and lastly it makes less work grinding the bevels later on as they will be forged in. This also packs the steel and makes a better steel that should hold and edge better depending on who you talk to.
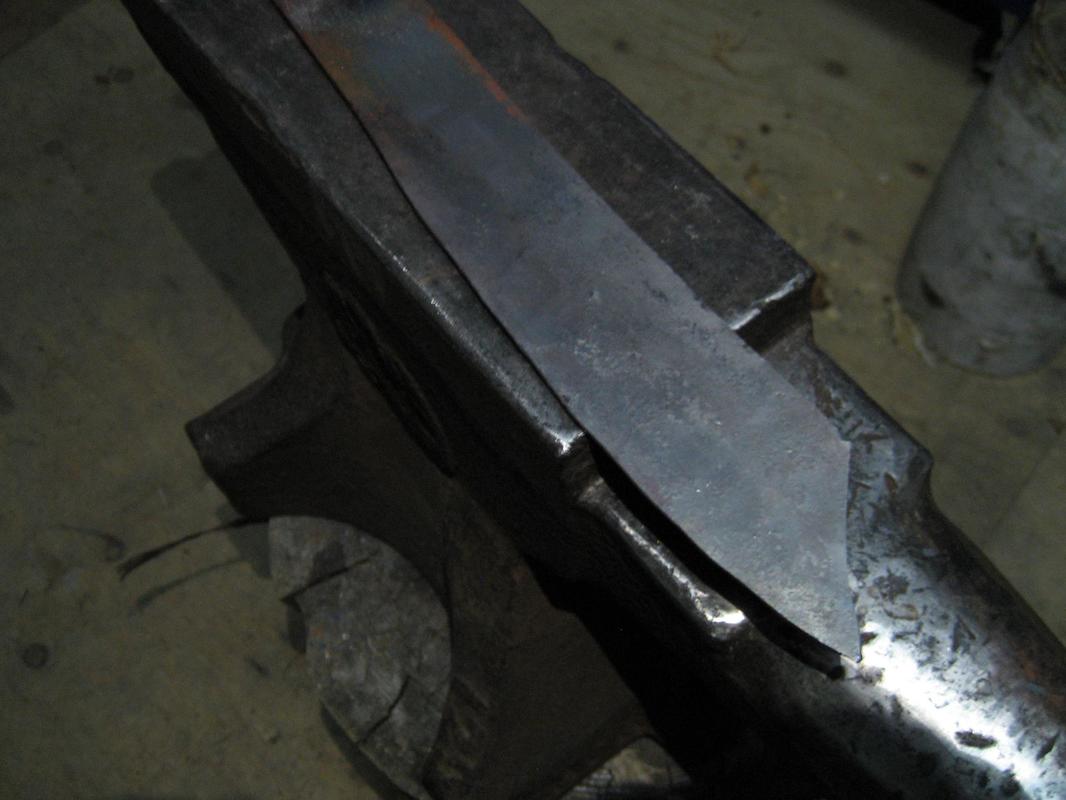
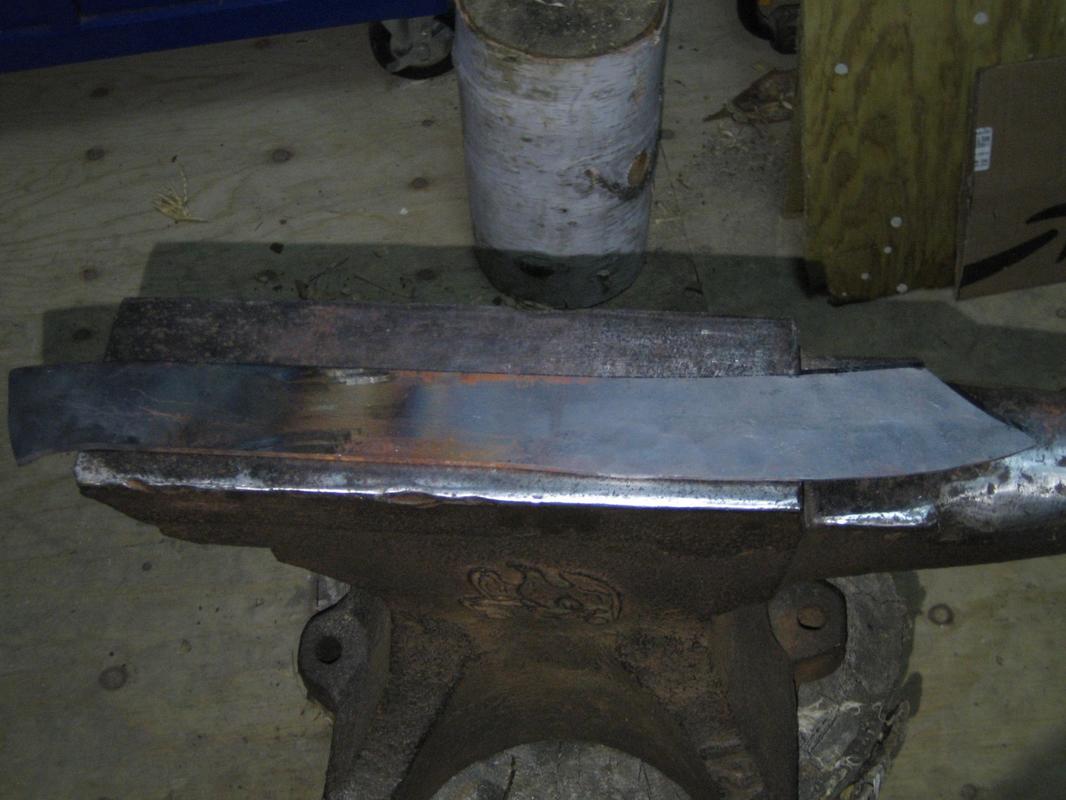
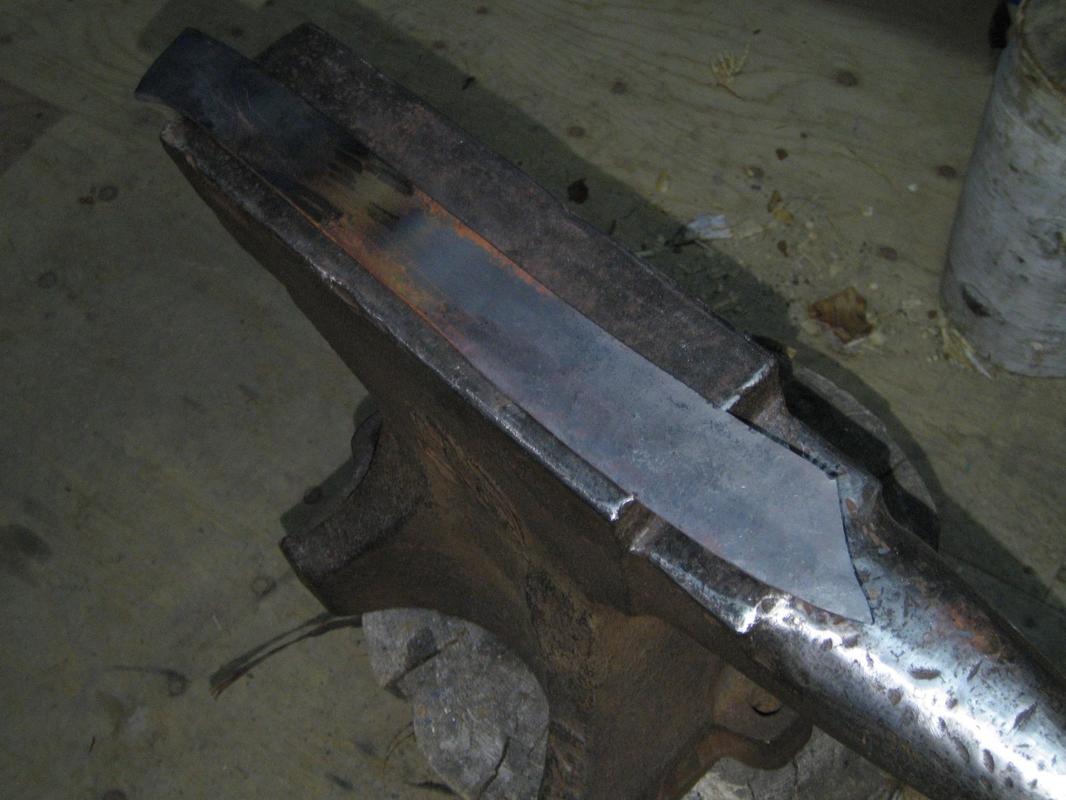
This is where I left off for the night. As you can see I only forged the bevel about 3/4 of the way back from the tip. The reason for this is because I want that portion to stay fairly straight. That portion will get the bevel ground out later.
This is where I left off for the night. As you can see I only forged the bevel about 3/4 of the way back from the tip. The reason for this is because I want that portion to stay fairly straight. That portion will get the bevel ground out later.
Now the next part will be to grind the handle shape. I want to do this before doing any more of the blade so that I can get a sense for the proportions and balance. Once that is done I will proceed to finish shaping the blade, then move onto grinding the bevels.
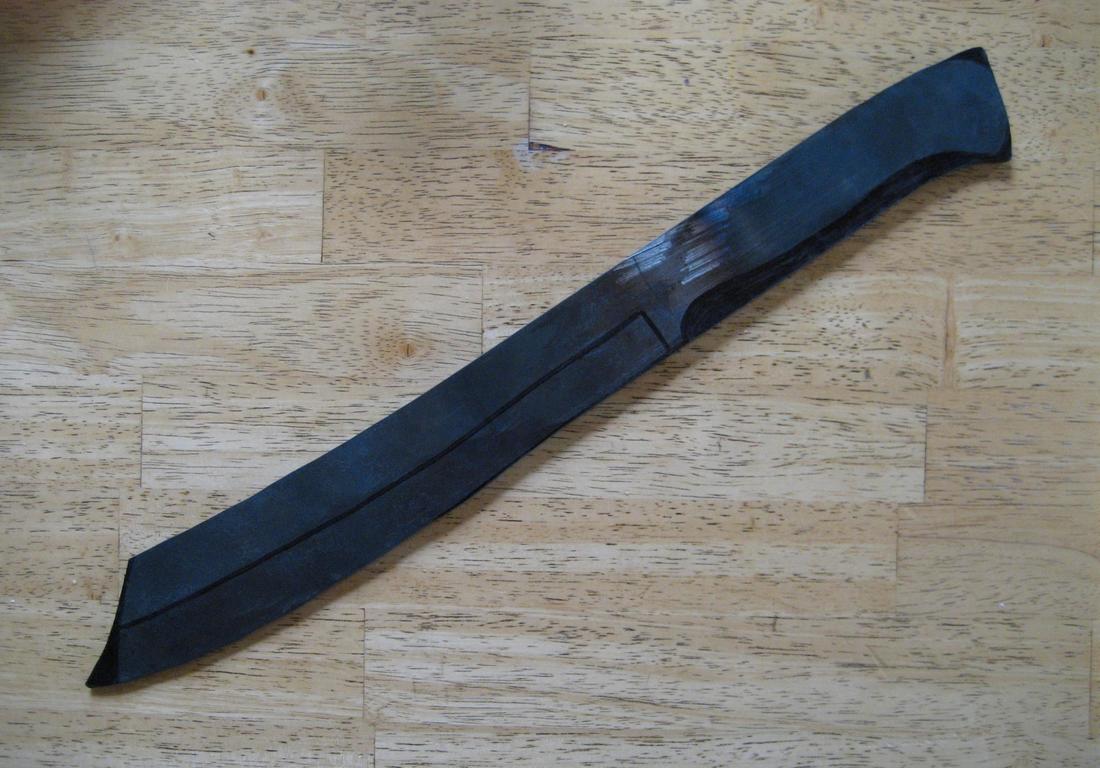
Here is a picture showing the areas marked with Sharpie that will get ground out. This gives a rough idea of how the blade will look when finished.
Here is a picture showing the areas marked with Sharpie that will get ground out. This gives a rough idea of how the blade will look when finished.
Keep checking for updates.
 RSS Feed
